


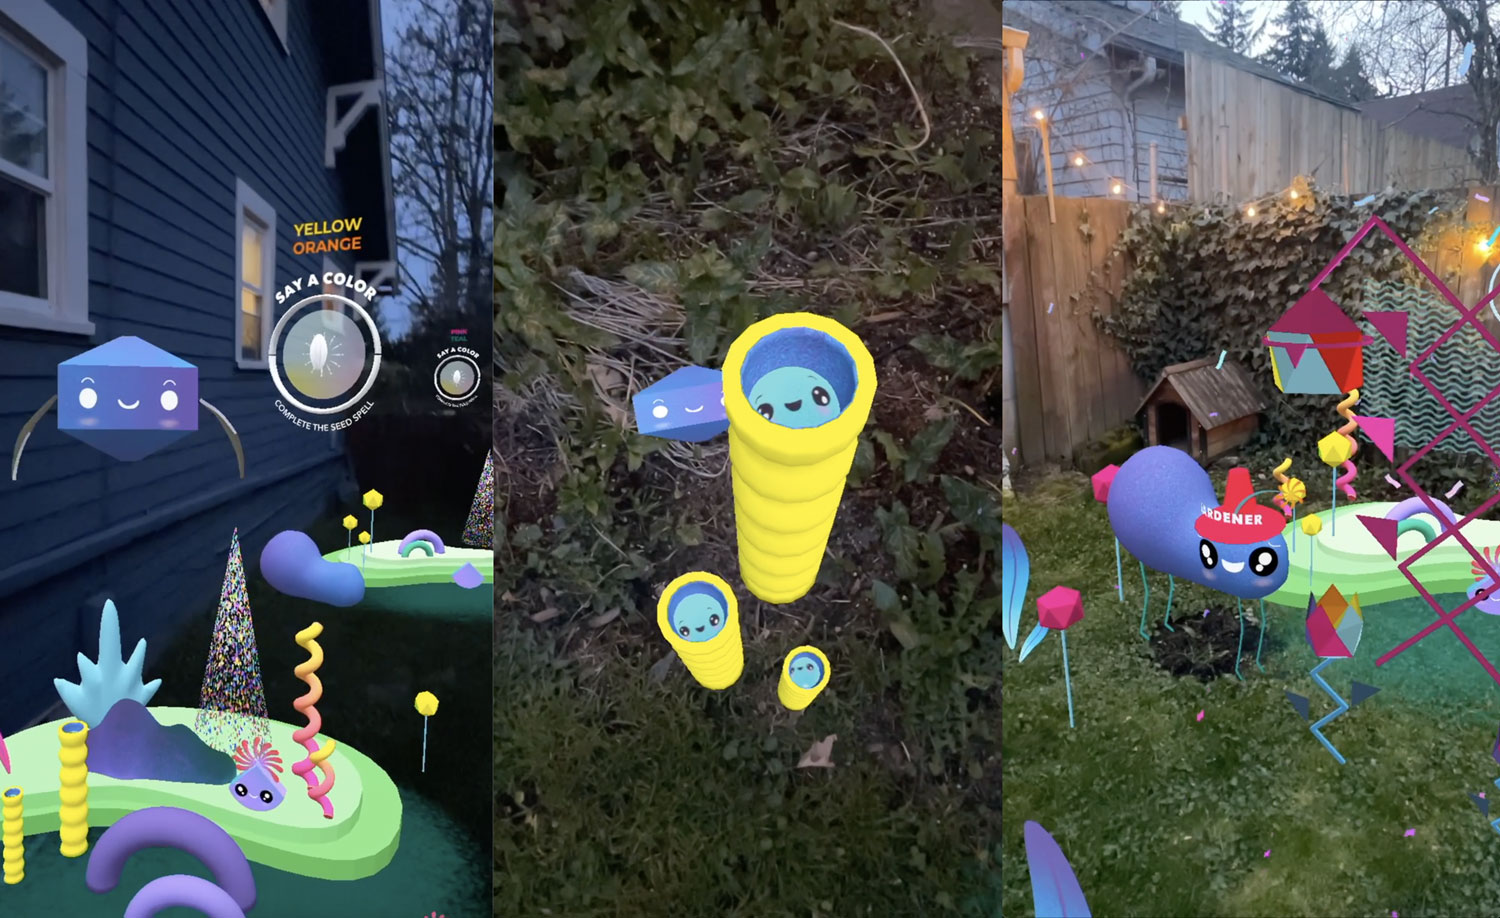

I believe that the future is something that we all build together and it’s up to us to create the world that we want to live in. This piece is a playful expression of that belief. Set in a parallel dimension, this surprising (and sometimes strange) place is where all of tomorrow’s best ideas are born and raised. But, the gardener has gone missing, so it’s up to you to help the garden grow by finding and planting a series of magical seeds. (Pst! Each one gives you special powers!)

Sketching/Ideating – My process always starts with brainstorming and sketching. They are really one and the same. This is one of my favorite parts of the whole process. I get to let my imagination run wild without figuring out the nitty-gritty, practical “how-to” details. I’m an illustrator, so I always start with drawing.


Once I was happy with my initial ideas, it was time to storyboard. This is essentially an experience blueprint. It’s the phase of the project where I define the key moments and overall story arc. I plan out how the participant will get from point A to point B. And, I define any important interactions or transitions that might occur in between.

Once the storyboard was complete, it was time to test my plan through prototyping. I started by making a list of all the major pieces of functionality. This helped me define exactly what needed to be built. Once I had that list, a contributing developer (Ibrahim Boona) and I, started systematically tackling each piece of tech. I stitched together each of the individual pieces of code into a single experience using very simple versions of the scene objects. This “skeleton” version of the experience allowed me to test the interactions and basic layout with my own body. I’ve found that you can’t really intuit what these spatial experiences will feel like, so you really have to try them in space.

Once I was happy with the functional prototype, it was time to actually design and build the final versions of the assets. I also love this part of the process, because… well, ART IS AWESOME!
Illustration & Graphic Design: Procreate, Illustrator, Photoshop
2D Animation: After Effects
3D Modeling/Animation: Blender
AR/Interaction/Materials: Lens Studio

